A full kitchen renovation is one of the most complex and impactful projects a homeowner can undertake. It’s not just about replacing cabinets or choosing finishes — it’s a coordinated main-floor transformation that involves design, structural engineering, beam installation, mechanical systems, custom kitchen manufacturing, and precise installation. When done properly, a kitchen renovation improves daily living routines and moods, increases home value, and ensures long-term durability. When done poorly, it leads to workflow issues, mechanical failures, and costly deficiencies hidden behind beautiful finishes.
This guide is designed for Ontario homeowners who want a professionally engineered and designed, code‑compliant, long‑lasting custom kitchen — not just a cosmetic facelift. It’s written for people who care about structural safety, proper electrical and plumbing planning, high‑quality custom cabinetry, and a layout that genuinely supports the way their family interacts, uses the space, and lives. If you value clarity, craftsmanship, and a renovation process grounded in technical accuracy rather than guesswork, this guide will walk you through every stage with confidence.
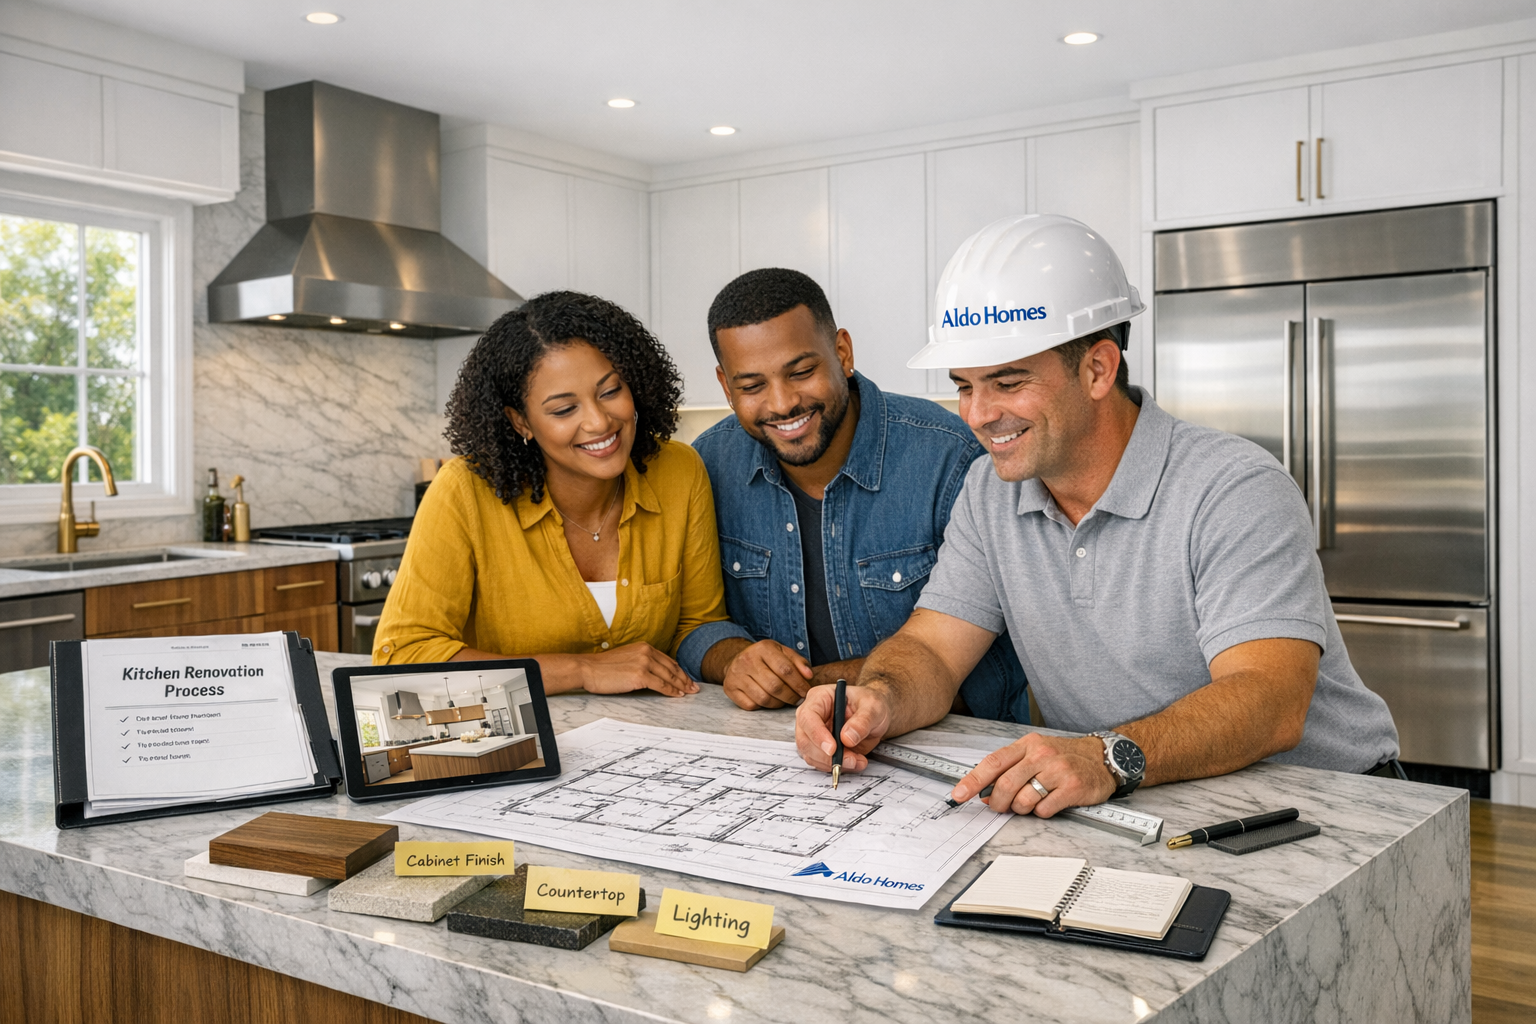
At Aldo Homes, we manage the entire kitchen renovation under one coordinated workflow — design, engineering, structural work, mechanical rough‑ins, custom cabinetry, and final installation. Because our entire team works from the same plan set— kitchen designers, engineering team, structural beams installation crew, mechanical specialists, and custom cabinet and countertop fabricators — homeowners avoid the conflicts and delays that occur when multiple contractors work independently or out of sequence. Whether you’re exploring ideas, finalizing appliance specifications, or preparing for structural changes, we provide a fully integrated, building code-compliant renovation process that delivers a kitchen built to last.
📘 Table of Contents
🧩 2. Kitchen Design & Feature Decisions
🪵 3. Cabinet Materials & Construction
🎨 4. Painting & Colour Strategy
📐 5. Layout Rules & Space Planning
🔥 6. Appliance Planning
💡 7. Lighting Design
🔧 8. Mechanical Infrastructure Requirements
🔁 9. Kitchen Renovation Workflow
⏱️ 10. Project Timeline & Cabinet Manufacturing Lead Times
📝 11. Kitchen Renovation Checklist (Homeowner Version)
💰 12. Custom Kitchen Pricing (Houzz & HomeStars Research)
❓ 13. FAQ
📚 14. Sources
💳 Payment Structure
Our custom kitchen projects typically require a 50% deposit, with the remaining 50% due after cabinet installation. While most general renovation work uses a much smaller 10–15% deposit, custom cabinetry is an industry-wide exception. Because custom cabinets are made to order and require significant upfront design and manufacturing costs, a 50% deposit is widely considered standard and reasonable among reputable kitchen manufacturers and contractors. We structure payments so that homeowners always see real progress — design work, manufacturing, and installation — tied to each stage.
-
Upfront design work
- Kitchen designers spend weeks producing layouts, elevations, revisions, and 3D renderings.
-
Manufacturing risk
- Custom cabinets are built to your exact room dimensions and cannot be resold if the project is cancelled or the scope of work is changed.
-
Final payment after installation
- The remaining 50% is paid only after the homeowner inspects and approves the installed cabinetry.
🧩 Kitchen Design & Feature Decisions
Designing a kitchen isn’t just about picking cabinets and colours — it’s about creating a space that actually works for the way you live. Every choice you make affects something else: the storage you choose changes how smoothly you move around the kitchen, the appliances you pick determine the layout, the lighting affects how enjoyable it feels to cook at night, and the materials you select decide how well the kitchen holds up over the years. When everything is planned properly, the kitchen becomes more than a renovation — it becomes a space that supports your daily routines, your family habits, and the way you cook, clean, entertain, and socialize with your friends and extended family.
Aldo Homes’ Layout and Kitchen Design Philosophy:
- Safety first: structure, electrical, and mechanicals must be correct before finishes.
- Function before aesthetics: layout, storage, and workflow drive design decisions.
- Durability over trends: materials are chosen to last beyond the current style cycle.
- Integration over patchwork: one coordinated plan for structure, mechanicals, and cabinetry.
Key decisions homeowners make during the design phase include:
- Cabinet style & construction — the foundation of the kitchen’s look and durability
- Storage strategy — from basic shelves to full custom organization systems
- Appliance selection — which must be finalized before cabinet drawings
- Countertop & backsplash materials — durability, maintenance, and visual impact
- Lighting layers — task, ambient, and accent lighting for a functional workspace
- Workflow & layout — clearances, landing zones, and traffic patterns
- Feature tier (standard, mid-range, high end) —choosing between standard, mid‑range, or high‑end options based on goals and budget
Kitchen Feature Tier Comparison
| Feature Category | Standard | Mid-Range | High-End | Luxury |
|---|---|---|---|---|
| Cabinet style | Simple shaker or slab | Detailed shaker, glass accents | Inset doors, custom profiles | Fully custom millwork, integrated channels, furniture grade construction |
| Storage | Basic shelves & drawers | Roll outs, spice pull outs, tray dividers | Full internal organization, custom pantry systems | Motorized storage, hidden appliance garages, bespoke organization |
| Appliances | Freestanding range, basic fridge | Slide in range, counter depth fridge | Built ins, panel ready appliances, specialty units | Full suite of integrated appliances, column fridges, steam ovens, pro grade equipment |
| Countertops | Laminate or entry level quartz | Mid grade quartz | Premium quartz, natural stone, porcelain slabs | Bookmatched stone, exotic slabs, ultra premium surfaces |
| Backsplash | Standard tile | Full height tile behind range | Full height slab or designer tile | Continuous slab walls, integrated stone shelves, illuminated features |
| Lighting | Single ceiling fixture | Pot lights + under cabinet lighting | Layered lighting: pendants, toe kick, accent | Smart lighting scenes, architectural fixtures, integrated cove lighting |
🪵 Cabinet Materials & Construction
Most kitchen cabinets are built from a core group of materials that balance durability, cost, and appearance.
Most Common Cabinet Material Types
- Plywood — Strong, stable, and better suited for moisture‑prone areas; widely preferred for cabinet boxes.
- MDF (Medium-Density Fiberboard) — Smooth and ideal for painted doors; consistent surface with no grain.
- Particleboard / Melamine Board — Budget‑friendly, uniform, and easy to clean; common in mid‑range cabinetry.
- HDF (High‑Density Fiberboard) — A denser, more durable version of MDF; used in higher‑quality painted doors.
- Wood Veneer — Thin natural wood layer over a stable core (MDF, plywood); offers a premium look without solid-wood’s higher cost or movement issues.
- Solid Wood — Natural, premium appearance; typically used for doors and face frames rather than full cabinet boxes.
- Laminate / Thermofoil — Durable, easy‑care surfaces bonded to engineered cores; common in modern, budget-friendly designs.
Cabinet Material Comparison
| Material Type | Strengths | Limitations | Best Uses |
|---|---|---|---|
| Plywood | Strong, rigid, handles moisture well | Higher cost | Cabinet boxes, sink bases |
| MDF | Smooth paint finish, no grain | Can swell with moisture | Painted doors, panels |
| HDF | Denser and more durable than MDF | Higher cost than MDF | Premium painted doors |
| Particleboard / Melamine | Affordable, consistent, easy to clean | Lower moisture resistance | Budget cabinetry, closets |
| Laminate / Thermofoil | Durable, low maintenance, modern finishes | Heat sensitive, visible seams | Flat panel doors, budget or modern kitchens |
| Wood Veneer | Natural wood look with stability | Can chip at edges | Premium doors, decorative panels |
| Solid Wood | High end appearance, strong | Can warp with humidity; grain shows under paint | Doors, face frames, accents |
🎨 Painting & Colour Strategy
Key considerations:
- Overall palette — Keep permanent elements neutral so the kitchen stays timeless as trends change.
- Contrast — Keep the same color or use contrasts intentionally (e.g., darker island with lighter perimeter cabinets, or upper cabinets lighter than the lower cabinets) to add depth without overwhelming the space.
- Mixing materials — Combining painted finishes with wood tones adds warmth and visual interest.
- Sheen levels — Choose durable, cleanable finishes: matte or eggshell for walls, satin for trim, and cabinet grade finishes for millwork.
- Lighting impact — Colour appearance changes under different lighting; test samples in both natural and artificial light.
2026 kitchen colour trends are moving toward warmth and natural character. Warm wood cabinetry is now more popular than white, and nature‑inspired greens continue to grow in demand. Creamy neutrals are replacing cool greys, while moody blues and charcoals appear as accent colours rather than full‑kitchen palettes. The overall direction is softer, warmer, and more organic.
High-quality finishes play a major role in how well cabinet doors and panels hold up over time. Durable options such as 2K poly, catalyzed lacquer, or professional-grade cabinet paint provide superior hardness, scratch resistance, and long-term colour stability. Factory‑applied finishes are generally preferred for consistency and durability, but well‑built doors can also be professionally repainted (10+ years later) if you want to refresh the kitchen’s look.
📐 Layout Rules & Space Planning
A functional kitchen depends on proper clearances, comfortable movement, and thoughtful placement of key elements. The guidelines below reflect common industry standards used to ensure good workflow, safety, and day‑to‑day usability.
The Work Triangle (Stove–Sink–Fridge)
One of the most established principles in kitchen design is the work triangle, which positions the stove, sink, and refrigerator in a triangular layout to minimize unnecessary movement during cooking. The goal is to keep each triangle point easily accessible while avoiding obstacles that interrupt workflow.
While modern kitchens often include islands, specialty appliances, and multiple work zones, the work triangle still provides a strong foundation for efficient layout planning. It ensures that the three most frequently used areas of the kitchen remain connected, intuitive, and comfortable to use.
Aisle Widths
Adequate aisle space ensures people can move comfortably without interfering with cooking or appliance use.
- Minimum: 36” — Basic clearance for a single‑cook kitchen.
- Recommended: 40–48” — Provides better flow and reduces congestion.
- Two cooks: 48–54” — Allows two people to work side‑by‑side without collisions.
Island Seating
Proper spacing ensures comfortable seating and prevents crowding around the island.
- 24” per seat — Standard width needed per person.
- 15” overhang — Provides enough knee space for comfortable seating.
- Minimum 3 seats — Typical for family‑oriented kitchens or social layouts.
Landing Zones
Landing zones are the clear countertop areas placed beside major appliances — such as the cooktop, refrigerator, sink, and microwave — where items can be safely set down during cooking and food preparation. These spaces improve workflow, reduce clutter, and support safe handling of hot or heavy items.
Minimum recommended dimensions include:
- 15” beside cooktop — Space for hot pans, utensils, and cooking tools.
- 24” beside fridge — Room for groceries, meal prep items, and quick‑access storage.
- 18” beside sink — Space for dishes, prep work, and cleaning tasks.
Dishwasher Placement
Correct dishwasher placement helps maintain efficient workflow and prevents congestion in busy areas of the kitchen.
- Next to the sink — Minimizes dripping, speeds up loading, and keeps plumbing runs efficient.
- Should not block the main walkway when open — Ensures the kitchen remains accessible and safe during use.
🔥 Appliance Planning
Appliances must be selected before cabinet design begins, as their dimensions, electrical requirements, and ventilation needs directly influence the layout, clearances, and custom millwork. Proper planning ensures the kitchen functions efficiently and prevents costly redesigns later in the process. In many cases, appliance lead times can be longer than expected, so it’s important to coordinate delivery with the renovation schedule and have all units on site and ready for installation when required.
Ranges & Cooktops
Larger cooking appliances require additional space, stronger ventilation, properly sized hoods, and adequate supply lines — whether gas or electrical. These units place greater demands on both layout and mechanical planning, so ensuring the correct clearances and connections are in place is essential for safe and efficient installation.
- Standard: 30” — Most common size for typical homes.
- High‑end: 36”, 48”, 60” — Professional‑style units that require upgraded ventilation and more landing space.
- Require proper hood sizing and ventilation — The hood should match or exceed the appliance width and meet CFM requirements.
Wall Ovens
Wall ovens offer a modern, streamlined look along with ergonomic access and flexible placement options, but they require proper electrical circuits and dedicated cabinetry to ensure proper installation and clearances.
- Require a tall oven cabinet — Built‑in installation with proper clearances.
- Need a dedicated 240V circuit — Ensures a safe and reliable electrical supply.
Refrigerators
Refrigerator style has a major impact on cabinet depth, door swing, and overall kitchen layout. Each type projects into the room differently and requires specific clearances to ensure proper ventilation and smooth day‑to‑day use.
- Standard depth vs. counter depth vs. built‑in — These options determine how far the fridge extends past the cabinets and how much space is needed for door swing and circulation.
- Built‑ins require custom panels and deeper cabinets — Typically 84 inches tall, these units sit flush with cabinetry and often include integrated panel options, but they require deeper gables, proper ventilation channels, and precise millwork.
Dishwashers
Dishwasher dimensions and door swing must be planned early to ensure they do not interfere with walkways or adjacent cabinetry. Because this appliance is used frequently and often opened during meal prep, proper placement is essential for smooth workflow.
- 24” standard width — The most common size for residential kitchens and the basis for most cabinet layouts.
- Panel‑ready options require a custom door panel — Allows the dishwasher to blend seamlessly with surrounding cabinetry for a fully integrated look.
Microwaves
Microwave selection directly affects placement, ventilation, and cabinet design. Each style has different space requirements and influences how the kitchen functions day‑to‑day, especially around cooking and prep zones.
- Drawer, built‑in, countertop, or over‑the‑range (OTR) — Each option impacts layout differently, from under‑counter installation to integration within upper cabinets or above the range.
- Built‑ins require ventilation space — Proper airflow is essential to prevent overheating and ensure safe, long‑term operation.
Specialty Appliances
Specialty appliances add convenience and functionality but require dedicated space, proper ventilation, and appropriate electrical or plumbing connections. Because these units vary widely in size and installation requirements, they must be planned early in the design process.
- Wine fridges — Often installed in islands or beverage stations; require ventilation and clearance.
- Beverage centers — Useful for drinks and snacks; typically need a dedicated 15”–24” cabinet opening.• Steam ovens — Require proper electrical supply and moisture‑safe cabinetry.
- Built‑in coffee machines — Need electrical access and, in some models, a water line.
Although kitchen laundry washers are uncommon in North America, they are standard in many European cities due to space limitations. For basement apartments, where square footage is often restricted, placing a compact washer (and sometimes a combined washer‑dryer unit) in a kitchen corner can be a practical and code‑compliant solution when planned correctly.
💡 Lighting Design
A well‑designed kitchen lighting plan uses three layers of light to create comfort, visibility, and visual interest. Each layer serves a different purpose and works together to make the space functional and inviting.
Ambient Lighting
General lighting that provides overall illumination for the room.
- Pot lights spaced 4–6 feet apart — Ensures even, shadow‑free coverage.
- 3000K warm white recommended — Creates a comfortable, natural glow.
- Alternatively, use adjustable‑color pot lights — Allows you to change brightness and color temperature as needed.
Task Lighting
Focused lighting for work areas where precision and visibility matter most.
- Under‑cabinet LED strips — Ideal for illuminating countertops.
- Install at the front of the cabinet underside — Reduces shadows and improves visibility.
- Essential for food prep — Ensures safe and accurate cutting, measuring, and cooking.
Accent Lighting
Decorative lighting that adds depth, warmth, and visual interest.
- Island pendants — Provide style and focused light over seating areas.
- Toe‑kick lighting — Adds soft nighttime illumination and enhances design
- Glass cabinet lighting — Highlights display items and creates ambiance.
- Above‑cabinet uplighting — Softens the ceiling line and adds a warm glow.
Smart Lighting Options
Modern controls that enhance convenience and energy efficiency.
- Dimmers — Adjust brightness for cooking, dining, or entertaining.
- Motion‑activated toe‑kick lights — Helpful for nighttime navigation.
- App‑controlled LEDs — Allow full customization of color, brightness, and schedules.
🔧 Mechanical Infrastructure Requirements
A functional kitchen relies on properly planned plumbing, electrical, and HVAC systems. These components must be coordinated early in the renovation process to ensure safety, code compliance, and seamless integration with cabinetry and appliances.
Plumbing
- Proper drain slope — Ensures wastewater flows efficiently and prevents backups.
- Vent connection to main stack — Required for proper drainage and to avoid sewer gas issues.
- Island vent loop — Necessary when the sink is located in an island without a direct vent path.
- Fridge water line — Supplies ice makers and water dispensers.
- Dishwasher drain — Must be tied into the sink drain with proper high‑loop or air‑gap configuration.
Electrical
Two 20‑amp small‑appliance circuits — Required for countertop outlets.
- Dedicated circuits for fridge, dishwasher, microwave, oven — Prevents overload and ensures reliable operation.
- GFCI protection — Required for outlets near water sources to enhance safety.
- Under‑cabinet lighting wiring — Supports LED strips or puck lights for task illumination.
- Island outlet — Required by code for islands and peninsulas.
- USB/USB‑C outlets — Convenient for charging devices and powering small electronics.
HVAC
- Maintain supply/return airflow — Ensures the main floor space stays evenly heated and cooled.
- Toe‑kick return vents if needed — Useful when cabinetry blocks existing return paths.
- Proper hood vent ducting (6” or 8”) — Required for effective removal of smoke, steam, and cooking odors.
- Makeup air for high‑CFM hoods — Prevents negative pressure in the home when using powerful ventilation systems.
🔁 Kitchen Renovation Workflow
- Deposit & preliminary decisions
- Design & colour selection
- Demolition of the old kitchen
- Structural work (mandatory inspection stage)
- Mechanical rough ins
- (if applicable) Insulation of the exterior wall and vapor barrier (mandatory inspection stage)
- Drywall, mudding, sanding and painting & flooring installation
- Cabinet delivery
- Cabinet installation
- Countertop templating, sourcing & installation
- Backsplash installation
- Final fixtures & finishes
- Walkthrough & sign off
Because we manage the entire sequence — from structural work to final fixtures — homeowners avoid the common gaps that happen when multiple contractors are involved.
⏱️ Project Timeline & Cabinet Manufacturing Lead Times
At Aldo Homes, a custom kitchen manufacturing typically takes 45–60 days with our partner fabricator. This production window is ideal because it allows all structural work, plumbing, electrical, HVAC adjustments, and drywall/painting and flooring to be completed while the cabinets are being built.
By the time the kitchen is delivered, the home is fully prepared for installation — ensuring a smooth workflow, minimal downtime, and no delays between construction phases.
For a typical main‑floor kitchen with structural changes, mechanical upgrades, and custom cabinetry, most projects could run 8–14 weeks from demolition to final walkthrough, depending on complexity, inspections, material lead times, and building permit issuance.
📝 Kitchen Renovation Checklist (Homeowner Version)
“Download PDF” here:Download Kitchen Renovation Checklist (PDF)
| Category | Checklist Items | Homeowner’s notes |
|---|---|---|
| Pre Design |
□ Define kitchen renovation goals (lifestyle, purpose) □ Identify must-have features □ Select appliances early □ Measure the existing kitchen □ Determine budget + contingency □ Gather inspiration photos | |
| Design & Planning |
□ Finalize layout, scope of work and cost □ Confirm aisle widths □ Confirm island size + seating □ Choose cabinet style □ Choose materials □ Choose colours □ Select hardware □ Approve 3D renderings □ Prepare structural drawings, review and confirm layout. □ Approve final cabinet drawings □ Apply for the building permit □ Receive Insurance Liability Certificate | |
| Construction (first part) |
□ Demolition □ Structural wall removal and beam(s) installation. □ Mandatory Framing Inspection □ The kitchen manufacturer comes to verify every measurement in case of unforeseen circumstances. □ Kitchen cabinets go into production. | |
| Mechanical Rough Ins |
□ Plumbing & Rough ins □ Sink □ Dishwasher □ Fridge water line □ Island venting (Ontario code) □ Ensure proper drain slope and venting Electrical □ Two 20-amp small appliance circuits □ Dedicated circuits (fridge, dishwasher, microwave, oven) □ Under-cabinet lighting wiring □ Island outlet □ GFCI protection □ USB/USB-C outlets, HVAC □ Confirm supply/return vent locations □ Toe kick return vents, if needed □ Hood duct size (6” or 8”) – drill hole through exterior wall □ Gas line installation (if applicable) | |
| Construction (second part) |
□ (if applicable) new fibreglass and vapour barrier – or spray foam insulation – on the exterior wall(s) and rim board. □ Drywall installation, mudding, sanding, painting □ Electrical (pot lights) □ Flooring installation | |
| Cabinetry |
□ Delivery □ Cabinets installation □ Door/drawer alignment □ Panels, fillers & moulding □ Walkthrough before countertop templating. | |
| Countertops & Backsplash |
□ Countertop selection and templating □ Sink installation by the fabricator □ Countertop custom manufacturing, delivery and installation by a specialized fabricator □ Backsplash installation (same material as the countertop, or designer tiles) □ Caulking & sealing | |
| Final Fixtures |
□ Faucet installation □ Dishwasher hookup □ Fridge water line connection □ Under-cabinet lighting installation □ Island pendant installation □ Hood vent installation & testing □ All other electrical items | |
| Final Walkthrough |
□ Test all drawers & doors □ Test all appliances □ Check plumbing for leaks □ Check electrical outlets □ Paint touch-ups □ Receive care instructions □ Receive warranty documents |
💰 Custom Kitchen Pricing (Houzz & HomeStars Research)
Recent data from Houzz and HomeStars shows that GTA custom kitchen projects typically range from $25,000 to over $200,000, depending on factors such as layout complexity, level of customization, material selections, and appliance packages.
At Aldo Homes, we’re able to stay highly competitive within these market ranges because we operate as a fully integrated team. Our partner kitchen manufacturer, in‑house engineers, and full network of licensed technicians (plumbing, electrical, HVAC, and structural) allow us to streamline the entire renovation process. This reduces delays, minimizes subcontractor markups, and ensures consistent quality from design to final installation.
For homeowners who want accurate numbers tailored to their space, we provide personalized, project‑specific estimates after reviewing your layout, materials, and mechanical requirements. Reach out anytime — we’re happy to help you plan your renovation with clarity and confidence.
❓ FAQ
1. Why must appliances be selected before cabinet design?
Because appliance dimensions dictate cabinet openings, electrical loads, ventilation, and workflow.2. Why are custom kitchen deposits higher?
Because cabinets are made to order and cannot be resold if the project is cancelled.3. What aisle width is recommended for two people cooking?
48–54 inches for safe, comfortable movement.4. Why is plywood preferred for cabinet boxes?
It is stronger, more rigid, and more moisture resistant than particleboard.5. Why do island sinks require special plumbing?
The Ontario Building Code often prohibits the use of Air Admittance Valves (AAVs): a vent loop must connect back to the main stack. Incorrect venting can lead to slow drains, sewer gas smells, and failed inspections — all of which are far more expensive to fix after cabinets and countertops are installed.6. Why do countertops get templated after cabinets are installed?
Countertops are templated only after the cabinets are fully installed because the stone fabricator needs exact, final measurements. Even a few millimetres of variation can affect seams, overhangs, and the overall fit. While countertop pricing is estimated during the kitchen design stage, the precise template is completed afterward to ensure a perfect, seamless result.7. Why is under cabinet lighting important?
Under cabinet lighting removes shadows on the countertop and provides essential task lighting for cooking and food preparation. It also adds a warm, high-end glow that enhances the overall design and nighttime ambiance of the kitchen.📚 Sources
View Sources
SOURCES — Summary Table
| Source | Link | Contribution |
|---|---|---|
| NKBA | www.nkba.org | Layout standards, aisle widths, landing zones. |
| Houzz | www.houzz.com | Design trends, appliance planning, island sizing, price points. |
| TrustedPros | https://trustedpros.ca/forum/kitchen-and-bathroom/what-are-normal-deposits-for-kitchen-renovations | Deposit norms for custom kitchens. |
| HomeStars | https://www.homestars.com/kitchen/price-guides/kitchen-cost | Custom kitchen price points and deposit norms. |
| Ontario Electrical Code | www.esa.gov.on.ca | Circuit requirements, GFCI rules. |
| Ontario Plumbing Code | www.ontario.ca | Venting rules, island sink requirements. |
| CNET / Wirecutter | www.cnet.com | Appliance dimensions and planning. |
⚖️ Disclaimer
© 2026 Aldo Homes. This guide provides general information about the kitchen renovation process and may not reflect the specific structural, mechanical, or permitting requirements of your home. Every project is unique, and proper planning must account for site conditions, appliance specifications, and Ontario Building Code compliance. For project-specific guidance — including structural planning, mechanical coordination, and custom kitchen design — the Aldo Homes team is available to help you review your layout and prepare a clear, accurate renovation plan.